Vinyl Picket Installations

At Nationwide Fence Supply, we’ve developed a proprietary method that makes it easy to install fencing through all four seasons of the year in record time, without removing dirt, without using cement, and without the all-day cleanup that takes place once the job is finished. Take a closer look at just how easy our installation process is:

MARKING OUT THE PROJECT

Step one is marking out your project, just as you would any other fence install. Remove any debris, obstacles, bushes, plants or trees from the area where the fence will be installed. Then, stake out the perimeter of the fence, and then run a string around each stake, so you have a visual of exactly where your fence is going to be located. Once you have your project marked out, it’s time to drive your posts.

DRIVING GALVANIZED POSTS

Is there anything you dread more during an install than digging posts? If you’re lucky, you have a power auger at your disposal, which takes up a ton of space in your truck. Even so, you’re dealing with finicky equipment that can stop working at a moment’s notice. Assuming your auger is up to the job, you’ll still need to spend a day an entire day digging posts, mixing cement, setting the posts and then waiting for the cement to dry.

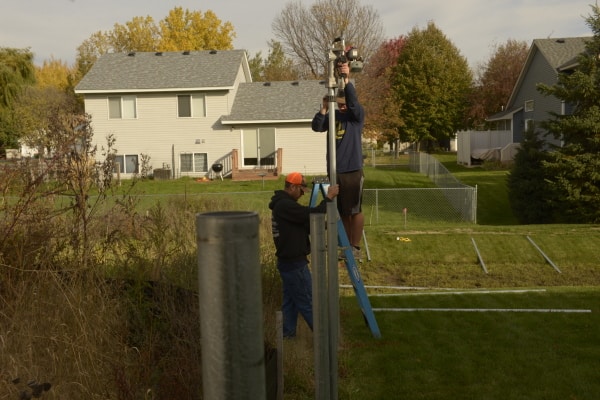
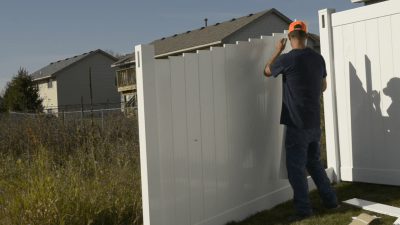
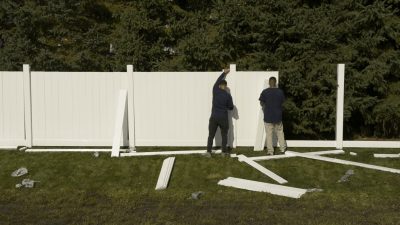
That’s all in the past now thanks to our proprietary fence driving method. With our process, you can drive fence posts year-round with no digging, no cement, and no mess. The result is a cleaner job in less time.

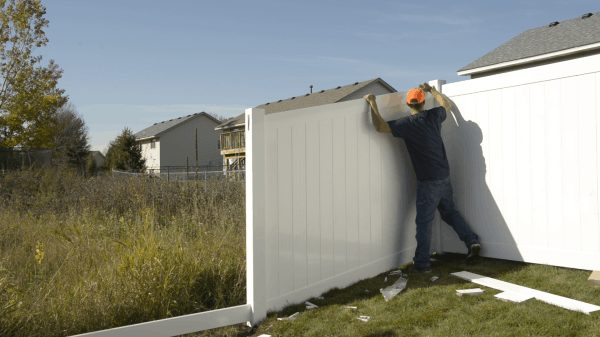
With our concrete-free post driving system, you’ll be able to pull a full four feet of post into the ground. The result is the most stable and cleanest fence installation possible with superior wind strength, no heaving, and no dirt removal.

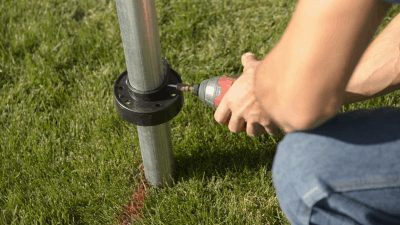
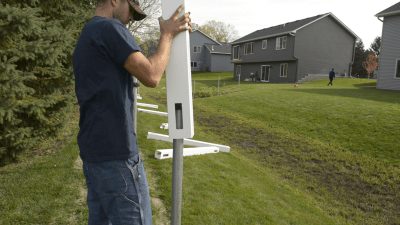
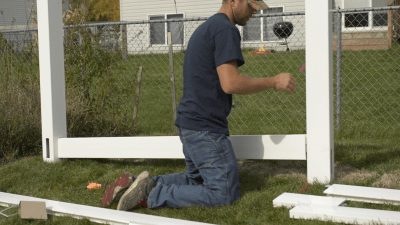
Once you’ve driven each of the posts, you can move on to installing our proprietary Qwik-Collars.

INSTALL QWIK-COLLARS

Now, place your Qwik-Collars over each post and secure the collars to each post using self-tapping metal screws. These collars are critical to maintaining the beauty of the vinyl fence over time, as they help to evenly distribute the stress of the fence from the posts to the strongest parts of the fence. Once you’ve installed the collars, it’s time to move on to sleeving the vinyl posts.

SLEEVE VINYL POSTS

Once you’ve driven your galvanized posts and added Qwik-Collars, it’s time to add the vinyl post sleeves to your fence. Just place the vinyl sleeve over your post, and ensure that they are plumb. Leave about 1/16” of space between your string line and the fence post. Repeat this process for each galvanized post you’ve driven. Once your posts are all sleeved and plumbed, you can move on to installing the bottom rails.

INSERT BOTTOM RAILS

First, attach lock rings to each end of your bottom rail. Then, depress the lock ring and attach the first side of the bottom rail into the post. Once you release the lock ring, the bottom rail will be locked in place inside the post. Next, move on to the other side of the bottom rail, depress the lock ring and attach that side of the bottom rail to the fence post. Repeat this process with each bottom rail until every post has a bottom rail connecting it to the next post.

SET POST HEIGHTS

Now, adjust the post heights to ensure that each post has a uniform height. At this time, check to make sure that every post is plumb once more. Once the post heights are set, it’s time to install the vinyl pickets.

INSTALL VINYL PICKETS

Once the post heights are set for each section of fence, install each of the vinyl privacy slats into the bottom rail of the fence. Ensure that each picket is flush with the picket before it until all of the pickets have been installed. Repeat this process for each section of fence before moving on to install the top rails.

INSTALL TOP RAILS

Once the pickets have been installed for each section of fence, install the top rail to the posts. This process is virtually identical to installing the bottom rail. Attach lock rings to each end of the top rail. Then, depress the lock ring and attach the first side of the top rail to the post. Once that side is secured, move to the other side of the top rail, depress the lock ring and place the top rail inside the post. Release the lock ring, and the top rail will lock into place. The fence installation is nearly complete.

INSTALL RAIL TIES AND POST CAPS

Now that the fence is virtually complete, we’re going to install the rail ties to add additional strength and stability to the fence. These ties will help prevent the fence from warping and bowing over time. Place a rail tie inside of each vinyl fence post. Before we secure the tie, we’ll use it as a template to drill pilot holes in the top rail of the fence. Drill your pilot holes through the rail tie, and then secure the rail tie using the appropriate screws.

Once you’ve installed rail ties for each fence post, it’s time to finish the job by installing post caps. Brush the bottom of each post cap with glue or a silicone adhesive, making sure that there’s a thin layer of adhesive across every part of the surface that will make contact with the fence post. Then, firmly press each fence cap into place and ensure that the adhesive is making solid contact with the fence posts.